Quick answer: To seal an envelope, first identify the closure type on the flap. Gum flap: moisten the adhesive strip with a damp sponge or counter moistener, fold the flap down, and press firmly across the full length. Peel-and-seal: grip the liner tab, peel it cleanly away in one pull, fold the flap down, and press firmly. Flip-and-stick: fold the flap toward the envelope body and press both adhesive surfaces together firmly across the full width. For inserter machines, use gum flap only. For confidential mail, use peel-and-seal on a security-tinted envelope.
Most people have sealed hundreds of envelopes without ever thinking twice about it. But if you've ever had a batch of mail come back because the flap opened in transit, you know the difference. Watching an inserter machine jam mid-run because the seal type was wrong makes the point even more clearly.
Knowing how to seal an envelope the right way, depending on the envelope type and the volume you're handling, saves time, prevents failures, and keeps confidential content protected through every stage of postal handling. Here's everything that actually matters.
It Starts With Knowing Which Seal Type You Have
Before anything else, look at the flap. The sealing method is built into the envelope at the manufacturing stage, and each type works differently. Using the wrong technique for the seal type you have is the most common reason envelopes fail.
There are three main seal types on modern business envelopes:
Gum flap , the traditional option. The inside edge of the flap carries a strip of dried water-activated adhesive. It looks slightly shiny or dull depending on the formulation. This type needs moisture to activate.
Peel and seal , a protective paper or film liner covers a pressure-sensitive adhesive strip on the flap. You'll feel a tab you can grip to peel it away. No moisture required.
Flip and stick , latex adhesive on both the flap and the envelope body. No liner to remove. You press both surfaces together and they bond on contact.
Knowing which one you have takes two seconds and prevents the frustration of applying the wrong method.
Seal Type Comparison: Which to Choose for Your Operation
Before working through the step-by-step technique for each method, this comparison covers the key operational differences so you can match the right seal type to the right program.
Factor
Gum Flap
Peel-and-Seal
Flip-and-Stick
Moisture required
Yes
No
No
Liner to remove
No
Yes
No
Folder inserter compatible
Yes
No
No
Tamper-evident
No
Yes , tears visibly if opened
Partial
Shelf life
Several years (stored dry)
~12 months
~12 months
Best for bulk storage
Yes
No
No
Speed at volume
Fast with moistener
Fast , no moisture step
Fastest , no liner or moisture
Best for confidential mail
No
Yes , on security-tinted envelope
Partial
Typical use case
Inserter programs, bulk storage operations
Billing, payroll, financial, healthcare mail by hand
This is the envelope most people grew up using. The technique is simple but a few details make the difference between a clean seal and one that fails.
Moisten the adhesive strip along the inside of the flap. You have a few options here: licking works but it's not ideal for high volumes or for envelopes carrying sensitive documents. A damp sponge in a shallow tray is cleaner and faster. A counter moistener, a small device with a built-in water reservoir and a roller or pad, is the standard in any mailing room handling volume.
Once moistened, fold the flap down firmly and press along the full length of the seal. Hold it for two to three seconds. Don't just press the center: run your finger or palm from one end of the flap to the other to ensure full contact.
A few things to avoid: too much moisture softens the paper and causes wrinkling that weakens the seal. Too little moisture leaves dry patches that don't bond and will open in transit. The adhesive should look slightly activated, tacky, not wet.
For offices running gum flap envelopes through industrial mailing machine inserters, the machine handles the moistening and pressing mechanically. This is precisely why inserter equipment is designed around gum flap: the mechanical sequence works reliably at speed with this seal type.
How to Seal a Peel and Seal Envelope
Peel and seal envelopes are the most popular choice for offices sealing by hand, and they're genuinely easy to use correctly.
Find the tab at the end of the protective liner: it's usually at one corner of the flap. Grip it and peel the liner cleanly away from the adhesive strip in one smooth motion. Don't tear it off in sections; the liner is designed to peel fully in one pull.
Once the liner is removed, fold the flap down over the envelope body and press firmly along the entire length of the seal. The pressure-sensitive adhesive bonds on contact, so press with purpose rather than a light touch.
The bond is tamper-evident. If someone tries to open the envelope after sealing, the flap tears visibly. This tamper-evidence is why peel-and-seal is the standard for financial statements, legal correspondence, and any business mail where seal integrity matters to the recipient.
One practical note on storage: peel and seal envelopes use a latex-based adhesive that has a shelf life of approximately 12 months from manufacture. Stock stored in a warm or humid environment can lose adhesive effectiveness before that point. Order quantities you'll use within the shelf-life window and store in a cool, dry space.
Flip and stick, sometimes called press seal, is the fastest hand-sealing method of the three because there's no liner to remove. Simply fold the flap toward the envelope body and press the two adhesive surfaces together firmly. That's it. The latex bands on both surfaces bond on contact.
The technique that matters here is pressure and coverage. Press from one end of the flap to the other, not just in the middle. Incomplete pressure contact leaves unbonded sections that can open under handling. A flat, firm press across the full flap takes two seconds and creates a reliable bond.
The same 12-month shelf-life consideration applies to flip and stick as to peel and seal: both use latex adhesive. For offices going through envelopes at a consistent weekly pace, this isn't a problem. For offices that occasionally stock up heavily and leave boxes sitting for extended periods, gum flap is a better bulk-storage choice.
Sealing in Volume: What Changes When You're Processing Hundreds
Sealing one or two envelopes by hand is the same regardless of which method you use. Sealing a hundred or five hundred envelopes in a single session is a different operational situation.
For gum flap at volume without a machine, a countertop moistener is the right tool. It delivers consistent moisture to every flap without the inconsistency of hand-moistening or the fatigue of licking. Most mailing room supply catalogs carry basic versions starting under fifty dollars. For the volume of a typical billing department, it pays back in time and seal consistency within the first week of use.
For peel and seal at volume, the main efficiency tip is liner disposal management. Set up a small waste container next to your sealing station before you start. Removing liners as you go and dropping them immediately rather than letting them pile on the table keeps the workspace functional when you're sealing several hundred pieces.
For flip and stick at volume, the limiting factor is usually attention to full-flap pressure contact. When sealing quickly, it's easy to press only the center of the flap. A simple quality check, pressing a sealed envelope gently from both sides to confirm the full width of the seal holds, catches any incomplete bonds before they cause returns.
How to Seal Envelopes in a Folder Inserter Machine
For offices running mail programs at scale, a folder inserter handles folding, stuffing, and sealing in a single automated pass. Understanding how the machine seals envelopes prevents the most common ordering mistake in volume programs: buying the wrong seal type for the equipment.
Only gum flap envelopes work in standard inserters
Standard commercial inserter machines include a moistening unit: a water reservoir connected to a roller or pad positioned at the sealing station. As each envelope passes through, the flap contacts the moistening element, the adhesive activates, and a sealing roller presses the flap closed. This mechanical sequence is designed specifically for water-activated gum flap adhesive.
Peel-and-seal and flip-and-stick envelopes cannot be processed by standard inserter sealing units. Running self-seal stock through a gum-flap machine leaves envelopes unsealed, causes feed jams, and can damage the moistening components. If your operation uses an inserter, order gum flap envelopes only.
Confirming inserter compatibility before ordering
Before ordering envelopes for a new inserter program, confirm two things: the envelope size range your machine accepts and the flap orientation it requires. Most standard inserters handle #10 and #9 sizes reliably. Some machines have specific requirements around flap angle or seam construction. Run a 10-piece test with a small sample order before committing to volume.
When Security Matters: Sealing Confidential Mail Correctly
For business mail carrying financial documents, healthcare information, legal notices, payroll correspondence, or check payments, the seal is carrying two responsibilities simultaneously: closing the envelope and signaling that the contents haven't been accessed in transit.
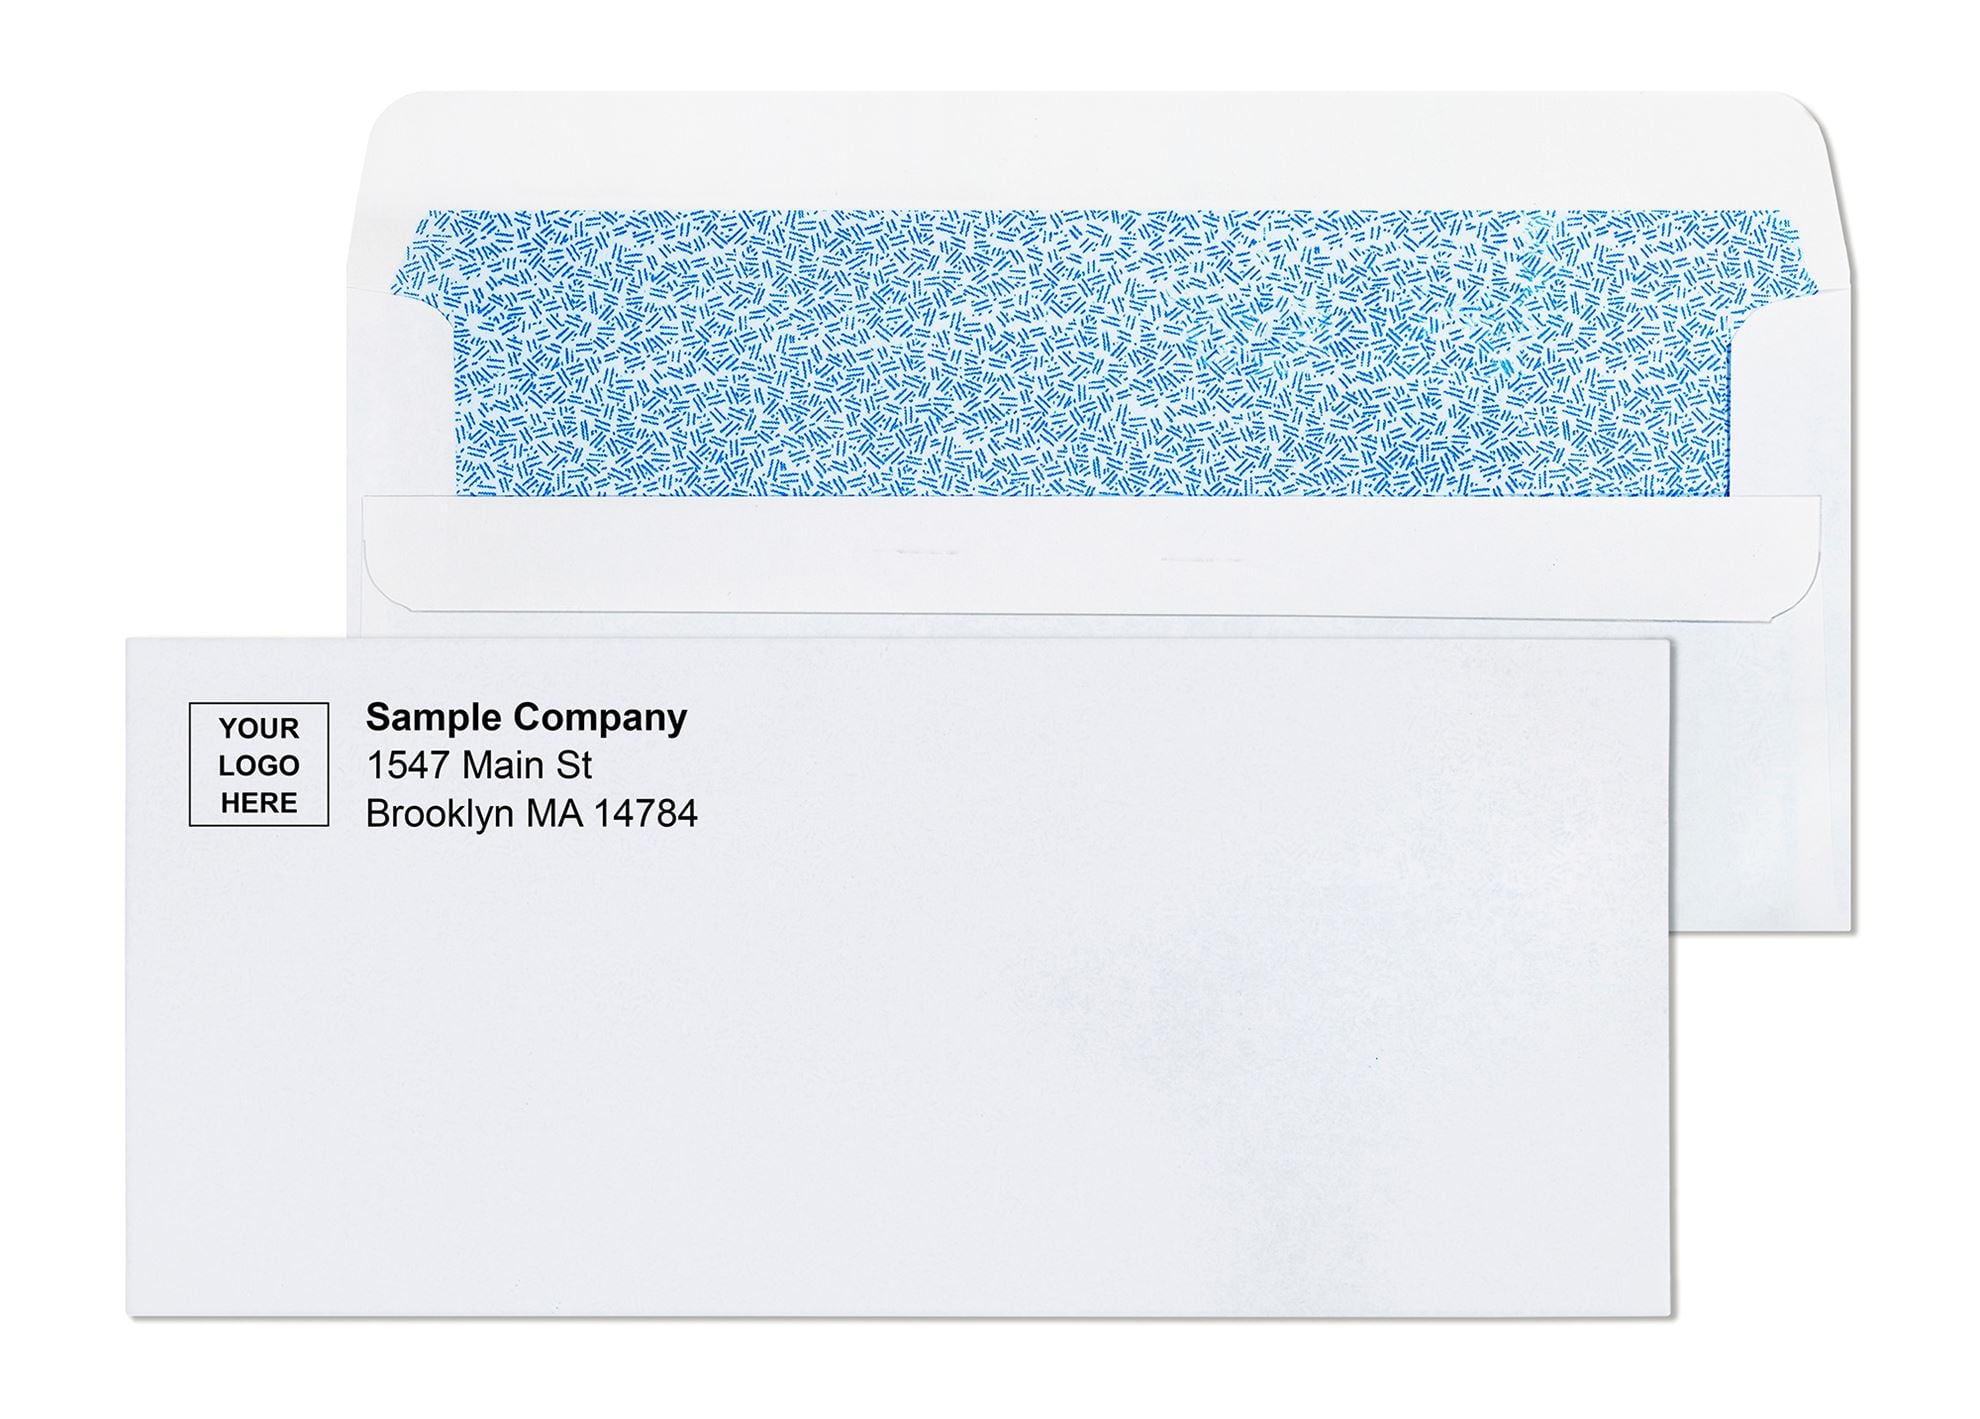
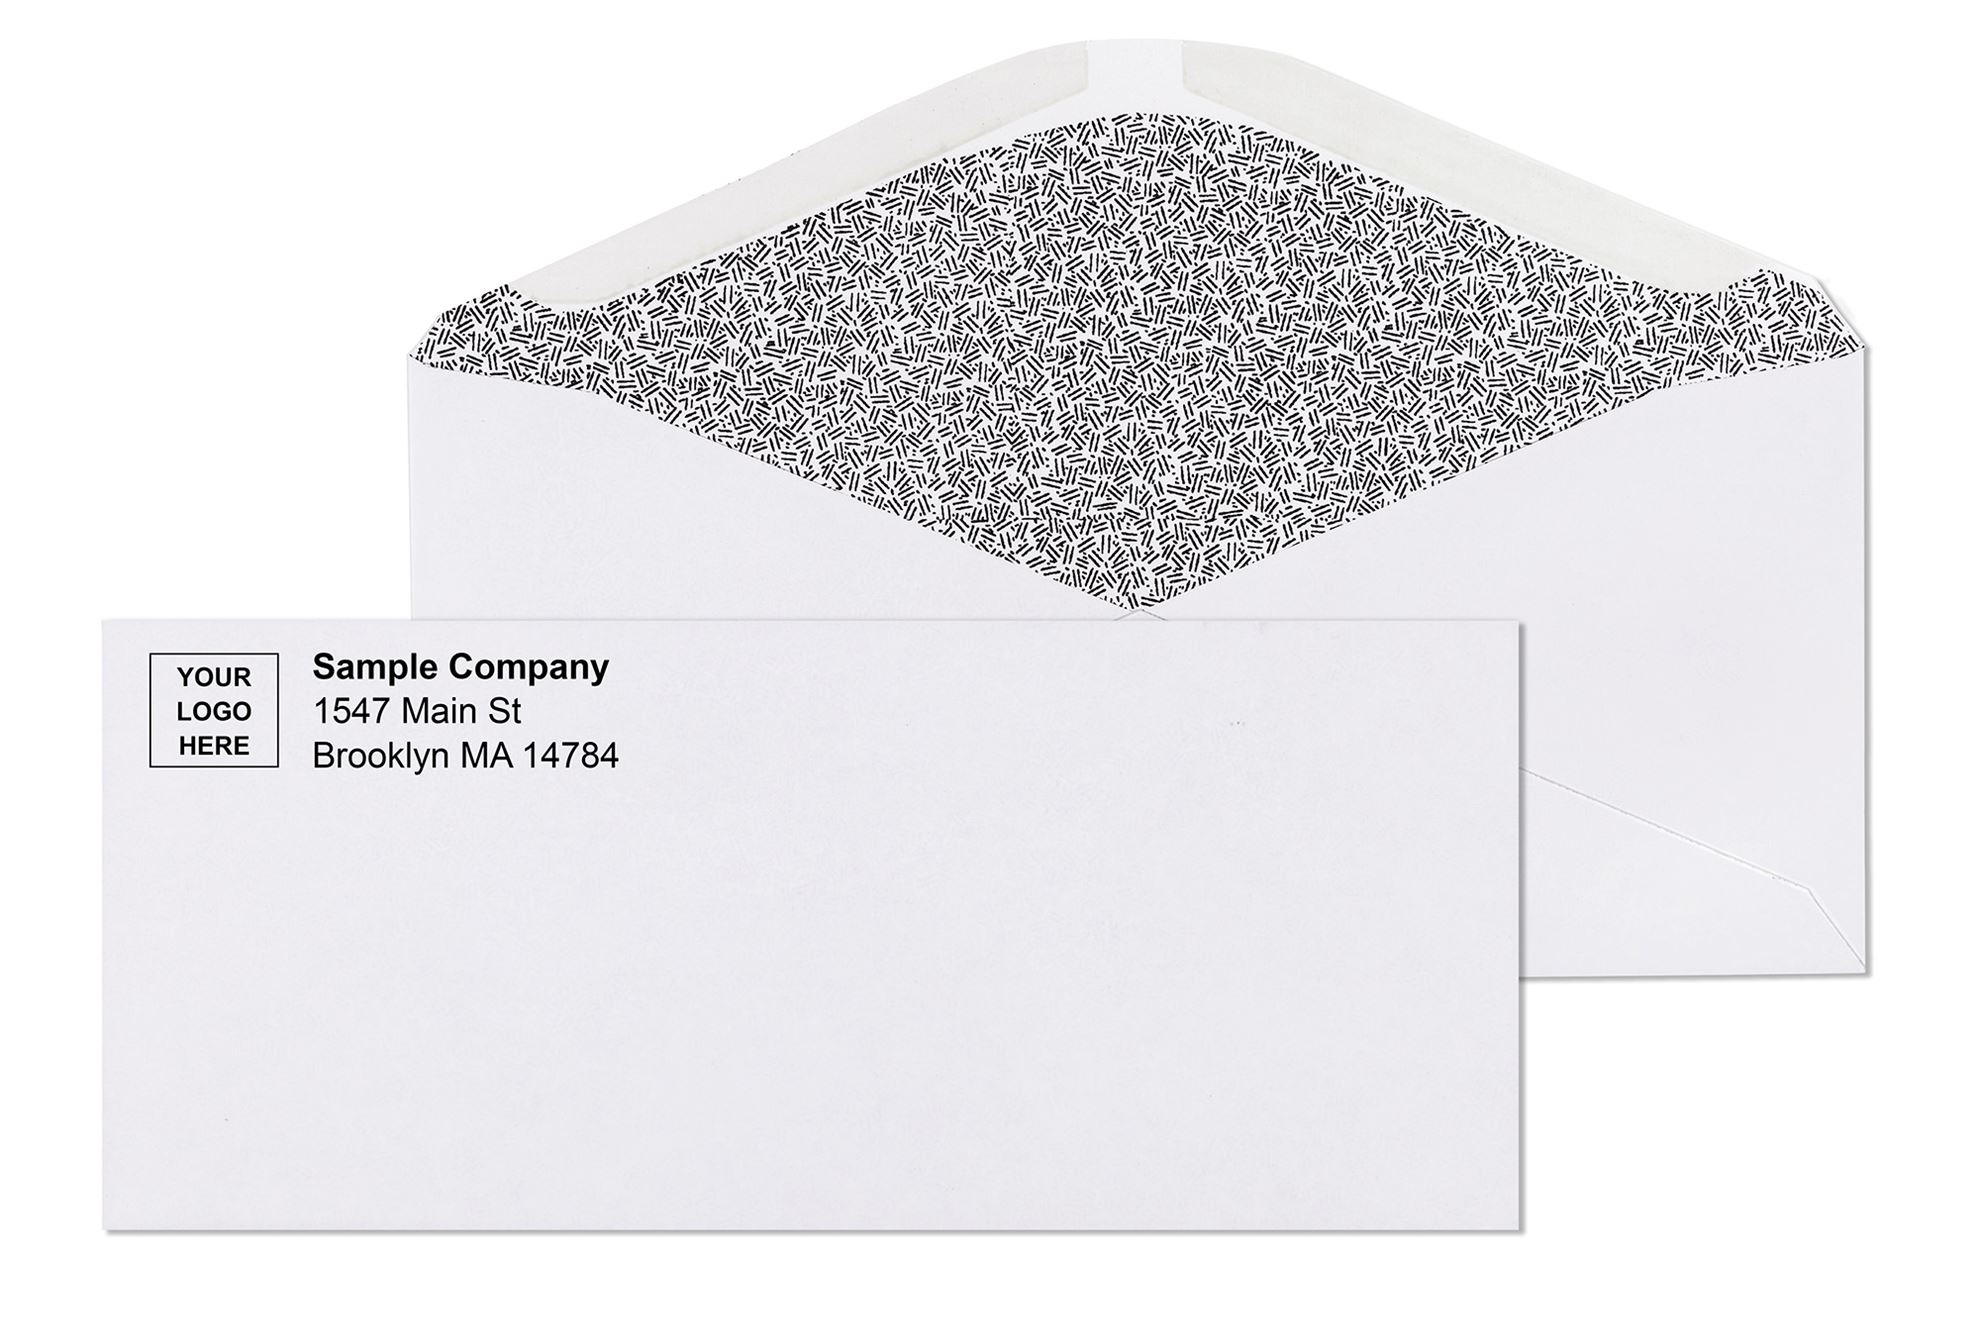
Security-tinted envelopes with peel-and-seal closures are the standard for this type of mail. The interior dark pattern makes the contents completely unreadable by holding the envelope to light. The peel-and-seal tamper-evident bond means any attempt to open the envelope after sealing leaves visible damage the recipient will notice.
For check mailing specifically, the double window format with a flip-and-stick seal is what most payroll departments and accounts payable teams use. Both addresses, payer and payee, come from the check form itself through the two windows. Sealing requires only the flip-and-stick step. Nothing is written or printed on the envelope at all.
Shelf Life and Storage: Keeping Self-Seal Adhesive Effective
Self-seal adhesive failure is one of the most common and preventable problems in envelope programs. Both peel-and-seal and flip-and-stick envelopes use latex-based adhesive with a shelf life of approximately 12 months from manufacture. Gum flap envelopes use water-activated adhesive that remains stable for several years when stored correctly.
Storage conditions that protect adhesive
Temperature: Store envelope stock at room temperature (60-80°F). Elevated heat accelerates adhesive degradation on self-seal stock and can cause partial pre-activation on gum flap envelopes.
Humidity: Keep relative humidity below 60%. High humidity causes gum flap adhesive to activate prematurely, sealing boxes of stock before they are used. It also weakens the liner adhesion on peel-and-seal envelopes.
Orientation: Store boxes flat, not standing on their edge. Pressure from stacking can compress peel-and-seal liners and cause the adhesive strip to bond prematurely on flip-and-stick envelopes.
Exposure: Keep boxes closed until the moment of use. Dust and environmental contaminants can coat the adhesive surface on flip-and-stick envelopes and reduce bond strength.
A few problems show up repeatedly in business mailing operations, and all of them are preventable.
Sealing before inserting the document. It happens when someone is multitasking. Always insert the document first and confirm it's fully inside the envelope before touching the seal.
Partial flap contact on peel and seal or flip and stick. Pressing only the center of the flap leaves the corners unbonded. Apply pressure across the full length of the flap every time.
Using aged self-seal stock. If peel and seal or flip and stick envelopes aren't bonding reliably, the adhesive has likely degraded past its shelf life. Don't try to fix it with moisture: replace the stock.
Running self-seal envelopes through a gum-flap inserter. Industrial mailing machine inserters are designed for gum flap envelopes. Running peel and seal or flip and stick stock through equipment built for gum flap creates feed errors and incomplete seals. Always confirm your equipment's seal type requirement before ordering.
Storing gum flap envelopes in high humidity. Moisture in storage partially pre-activates the adhesive, causing flaps to stick to the envelope body before intentional sealing. Store all envelope stock in a cool, dry environment with boxes kept closed until needed.
Why BusinessEnvelopes.com for Every Seal Type
Getting the right seal type for your mailing operation matters more than most people realize until something goes wrong mid-run. Business Envelopes carries #10 envelopes, window envelopes, self-seal options, and security-tinted configurations across all three seal types, gum flap, peel and seal, and flip and stick, in stock and available without minimum order requirements.
Since 1997, the product range has been built around actual business mailing workflows. When a purchasing manager needs to know which seal type is compatible with their inserter, or whether peel-and-seal adhesive holds in a warehouse storage environment, those questions get specific answers from operational experience, not generic catalog guidance.
Free ground shipping applies site-wide on every order.
What Customers Say About Business Envelopes Self-Seal Envelopes
"I switched from another brand to these because they were half the cost. I didn't sacrifice anything in quality though. These are security-lined, and the adhesive is as good, maybe better than the more expensive brand."
★★★★★ Rikki, Verified Buyer | #10 White Tinted Peel-Seal Envelopes
"They are made with good paper stock, have privacy print on the inside, and they self seal like a dream. Will definitely buy again if available."
"Came packaged nicely and compactly in a box. Adhesive is great, and windowless for privacy."
Conclusion
Sealing an envelope correctly comes down to three things: knowing which seal type you have, applying the right technique for that type, and matching the seal to how your operation processes mail. Gum flap for inserter equipment and bulk storage. Peel and seal for clean tamper-evident hand sealing at volume. Flip and stick for fast repetitive hand sealing where removing a liner slows you down. Security-tinted peel and seal for anything confidential. Get those matches right and envelope sealing stops being a variable in your mailing process.
Browse the full range of seal options at BusinessEnvelopes.com: every configuration in stock, no minimum order, free ground shipping on every order.
About the Author
This guide was written by the editorial team at Business Envelopes, a Monroe, New York envelope supplier serving US businesses, billing departments, healthcare facilities, and direct mail operations since 1997. The team draws on nearly three decades of operational experience supplying gum flap, peel-and-seal, and flip-and-stick envelopes to produce practical, specification-accurate guidance for every mailing program type.
Frequently Asked Questions
What is the easiest way to seal an envelope without licking it?
Use a peel-and-seal envelope: peel the liner, press the flap closed. No moisture needed at all. Alternatively, a counter moistener handles gum flap envelopes cleanly without any licking.
Why won't my self-seal envelope stick properly?
The latex adhesive has most likely aged past its 12-month shelf life. Warm or humid storage accelerates degradation. Replace the stock rather than trying to fix it with additional moisture.
Can I run peel-and-seal envelopes through a mailing machine?
Generally no. Industrial inserters are designed for gum flap envelopes specifically. Running self-seal stock through gum-flap equipment causes feed errors. Always confirm your machine's seal type requirement first. For full compatibility guidance, see Envelopes for Automated Mailing Systems: Which Formats, Sizes, and Closures Work.
What's the difference between peel and seal and flip and stick?
Peel and seal has a liner you remove to expose the adhesive. Flip and stick has no liner: latex on both flap and body bonds when pressed together. Flip and stick is marginally faster for repetitive hand sealing. See the full comparison at Peel-and-Seal vs Flip-and-Stick Self-Seal Envelope Guide.
Which seal type is best for confidential business mail?
Peel-and-seal on a security-tinted envelope. The tamper-evident bond tears visibly if opened after sealing. The interior tinting makes contents unreadable through the envelope material. For more, see Security Tinted Envelopes: What the Interior Pattern Actually Does and When You Need It.